Take Better Photos – Two Expert’s Tips
Mar 07, 2019
I see two places where food businesses struggle with their photography and it is hurting your business by not living up to your brand potential and speaking your customer’s “language”. It is a hard conversation I have to have with clients at times about upping their photo game, but it is always worth it when they do.
The first area is on your social media and email newsletters. Social media is a double-edge sword when you are a food business. People love food photography and with hashtags like #foodporn and #foodphotography following these kinds of photos is fun and easy. But capturing a really good food product photo isn ‘t always easy and so there are a lot of bad photos out there that don’t represent the brand you are aspiring to be. It can actually be a turnoff for potential customers to see a bad photo of your product or to always be hit with the “selling” part of your business (see my post about customer engagement and the 80/20 rule). Yes, you are trying to sell your product, but it needs to be much more subtle on this type of media. The only thing you are “selling” is an idea of how great it is to interact with your brand and product – inspire and connect with your target customer.
The second area is on your website or ecommerce marketplace (ie: Amazon, Etsy, Faire). This is the place to “sell” your product through testimonials, videos, recipes and images – both lifestyle and product. Good product photos are absolutely essential to sell your product to the customer since he or she has no way to taste, smell or touch it before buying. You have to communicate to your customer all of the benefits, as well as the basics, of your product through a visual medium only.
So, what do you do if you aren’t a great photographer? There are actually some easy tips and inexpensive tools that can elevate your photos to the next level. And, no you don’t need to have fancy camera or equipment. I asked two photographers who specialize in food and product photography that I highly recommend to write a guest blog post on this subject so read on.
5 Tips for Killer Photography
Guest Post by Leah McClay, Leah McClay Marketing
Follow the light
Unless you’re a seasoned photographer, shooting in low light is bad… like really bad. Photos taken in low light are often grainy and undefined. They also lack vibrancy and can present your product in an undesirable way. Generally speaking, it’s best to have the light behind the photographer. But you can also feel free to play with shadows by moving around your subject. Pay attention to where the shadows fall and either use them intentionally to set the tone for your photograph, or position yourself in a way that creates the fewest shadows on your subject.

Low Light Example
Determine the type of light
We talked about the importance of lighting in tip number one, but what you may not know, is that direct light is not much better than low light. Direct light, whether natural or artificial, causes extremely harsh shadows and overly saturated colors. It can also over expose your subject, creating lack of definition and a “washed out” appearance. The best type of light for shooting photos is indirect light. If you’re shooting outside on a sunny day, shoot in the shade. If you’re inside near a window, put a white sheet over the light source, or move across the room to soften it. The ideal condition for photos is an lightly overcast day. Clouds are a natural light diffuser.

Direct Light Example
Stick with a signature style
Some of the most successful Instagram feeds do only one thing. They have the exact same layout for all of their photos, but change the subject from image to image. I’m not saying you have to be quite that regimented about it, but consider this simple tip: Create a cohesive feel with your photos by using the same filter on each image, or create a custom preset in an editing program. An example of this would be bumping up (or down) the exposure, contrast and saturation to the same levels on all of your images. Over time, this look will become instantly identifiable as your brand.
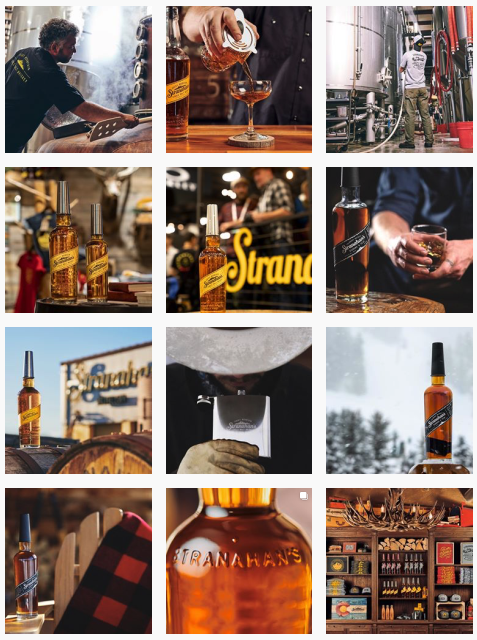
A great example of this is Stranahans. Incorporating your packaged product into your photos is necessary, but shouldn’t be the only photos you take. Lifestyle photos are what you are going for with social media and your emails. Your goal is to visually show your fans (ie potential customers) how to use your product through beautiful imagery. This allows them to step into the fantasy and builds their desire to associate with your brand.
Follow other brands you love to get inspiration. Some of my favorites are @pressery, @dangfoods, @simplemills, @coconut.cloud and @mother_beverage
Consider composition
There are three main angles (especially for food and product photography) that are most pleasing to the eye: Straight on, 45 degree and overhead. I like to snap photos of all of my subjects at each of these angles. Often I’m surprised by the image that resonates most.

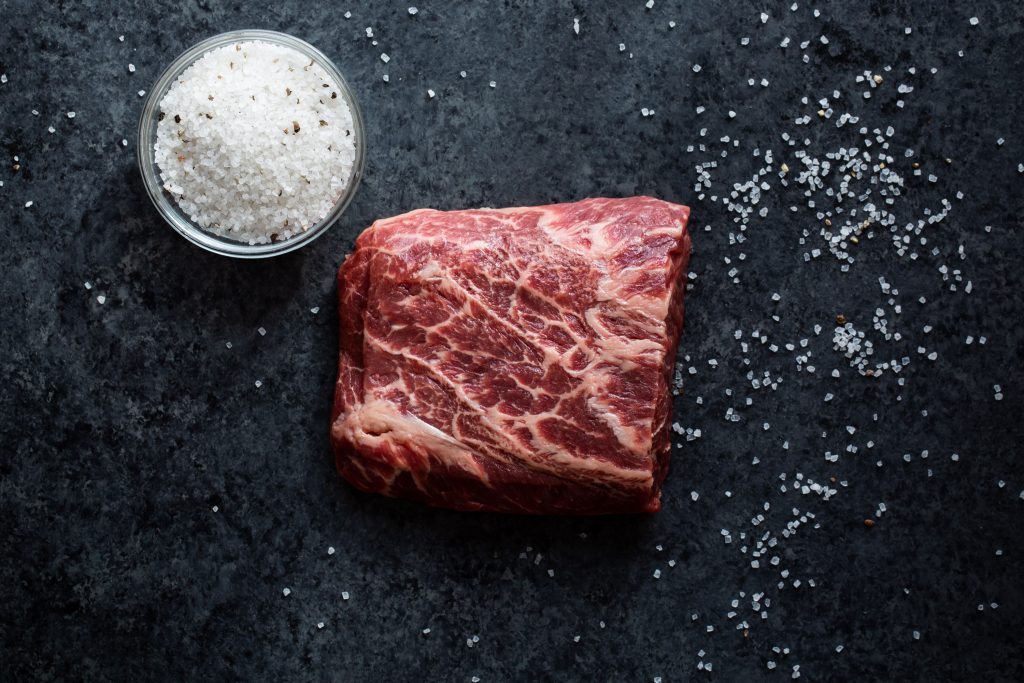
Overhead Example with Indirect Light

Straight On Example with Indirect Light
The other tip for better composition is the rule of thirds. Essentially, the rule of thirds states that your subject should take up 2/3 of the space within the frame of your photograph. If you divide your photo into thirds (in your mind through the viewfinder or digital screen of your camera), place your subject in two thirds of that space, leaving blank space in the other third. This helps create visual interest and balance. This tip is tricky to employ when you’re first getting started, but will come naturally with practice. You can see both my examples above use the 2/3 rule. There is a wealth of knowledge on the rule of thirds available on the internet. A quick Google search will be very fruitful if you’re interested in learning more.
Hire a photographer
Ok, so maybe this isn’t exactly a photography tip, but it’s certainly relevant. With enthusiasm and practice anyone can get better at taking photos, but most small business owners simply don’t have the time to keep up. Paying a photographer to photograph your product is investing in your business. High quality photo assets are vital in today’s digital world and they can help you stand out from competitors in a crowded marketplace. If you realize the importance of high quality photographs for your brand or business, but don’t have the time to make it happen on your own, reach out! I’d love to help define your visual brand.

Contact me at [email protected] or visit my website mcclaymarketing.com and fill out the contact form. You can also follow me on Instagram @bathtub_turkey
3 Basic Steps for Better Food Photos
Guest post by John Robson, John Robson Photography
Very often I see local businesses post photos that are downright unappetizing. Why would I (or anyone else, for that matter) want to go there if I’m not craving the dish when I see a photo of it? Here are three basic points to make your delicious and well-plated meals appealing.
Lighting:This can make or break your beautifully plated dish. The easiest way to get good lighting is to find a nice source of indirect natural light. If you have direct light coming in through a window, position the plate in the shadow just to the side of the direct light. Natural light will help with the color balance of your food and add an appealing contrast between the light and shadow. Poorly lit photos under florescent lights will tend to make your food appear yellow, lifeless and dull.

Atmosphere: Create a sense of place. Not only do you want people to drool over your food, you also want to take them to where you are. Are you in a restaurant or at a food truck rally? Step back away from your dish and let the ambiance compliment the food.

Composition:Have some fun! There isn’t a rule that says you have to show the whole dish or every ingredient. Consider different angles or shoot from directly above the plate. Think about cropping the plate and only showing a half or quarter of the dish. Also take into account the use of “white space,” which is that open area around your dish, to help give it some breathing room.


Equipment for an amateur:
Camera and lens: I follow the saying that states, the best camera is the one you have on you. Whether that’s a DSLR or a phone, what matters is that you’re taking photos and understanding your surroundings and composition. With that said, yes, a DSLR or mirrorless camera body is great to have, especially when paired with a lens that has a large aperture of f/2.8 to f/1.4 (the lower the number the larger the aperture). A large aperture lets in a greater amount of light as well as giving you the ability to create a shallow depth of field, which can be quite pleasing. The lens length will depend on your shooting situations. I typically carry a 35mm prime (fixed length) lens and a 70-200mm lens. Other popular lengths are 50mm and 24-70mm.
Editing software:If you have the ability to edit photos on your desktop, software such as Adobe Lightroom is a great way to enhance your photos. If not, there are a number of apps for your phone that will offer similar adjusts, though they are not as robust.
White or black boards: A simple white board of foam core can act as a reflector to bounce light back onto the subject and a black board can be used to block light if it’s too harsh. Get two boards and lay one flat on a table and set the other upright against a wall and you have your basic white or black background set up.
Tripod:If you are photographing a series and want everything to be in the exact same place from photo to photo, a tripod would be necessary. Also, a remote shutter release is a nice to have item.
Bio:

John Robson’s photographs tell the story of our food, from farm to table, to the makers and shakers that put their heart and soul into their work. He admires a hard work ethic that creates calloused hands and the love that goes into the creation of the culinary experience.
John’s photographic eye is accompanied by a 20-year professional career in graphic design. Having grown up in the farmland of Central PA to the row-homed neighborhoods of Philadelphia, John’s vision is enhanced by his rural and urban experiences. John currently resides by the foothills of the Rockies in Fort Collins, Colorado.
Contact:
Phone: 267-322-1433
Email: [email protected]
Website: johnrobson.photography
Instagram: @johnrobson.photography
A couple of other tips I have (Sari) are:
Don’t treat your business page as your personal page. Photos with humans in them perform well (we are attracted to another’s eyes), but keep it on message and about your product. Don’t just talk about your dog, but how your dog is a part of the business/brand/product.
Photo editing: Snapseed – a free app on your phone to make easy adjustments to lighting, lens blur and add filters
Bring your product on vacation or when you go out to eat or other outings. Take photos of your product in interesting places and use these for fun social media postings. I like @JacksonsHonest as a great example of location photos.

Photography Tools That Make It Easy!
Below are some of my favorite tools I use (Sari Kimbell Consulting) to take product and lifestyle photos for my clients. These are affiliate links that I so appreciate when you use them.
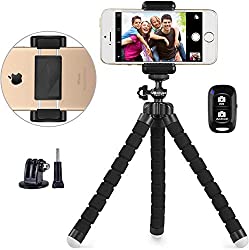
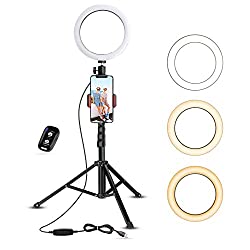
Portable Tripods

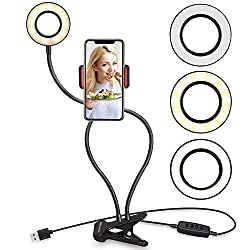
Build In Some Light

Create Interesting Backdrops
Cheat. That is what you want to do. Go to the thrift store and find interesting dishes and boards (without cuts in them) and set aside for only your food photography. Look for interesting art or wood too. Contact paper is the best (and cheap) way to get an interesting backdrop – don’t have a marble counter, just unroll, tape down and voila.
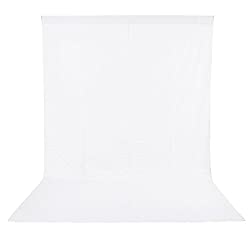
Product photos are best taken in a white light box or using a white seamless photo paper.
Seamless Photo Paper
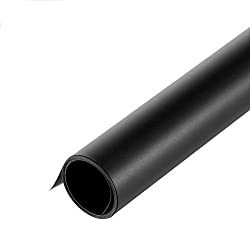
Marble Contact Paper

White Backdrop
Wood Backdrop

We hate SPAM. We will never sell your information, for any reason.
